
Mead — quite possibly the world’s oldest fermented beverage — is at its core simply fermented honey and water. It can be much more than that…much, much more. The process for fermenting and aging mead is very simple, and can be done with only standard household equipment and ingredients from your garden or foraged from the wild. No complex procedures, chemical cleaners and sanitizers, or worry is required. Making mead can be a natural, stress-free, and enlivening process if approached with the right mindset.
Many cultures — from the Vikings, to Ethiopians, to indigenous South American tribes — have incorporated fermented honey beverages into their cultural traditions. Making alcohol requires little more than some fermentable sugars, a few other ingredients, and a bit of help. With honey being a naturally occurring sugar that has been harvested by man for as long as we’ve been around, it has long been the most used sugar for fermenting alcohol. If a fruit or vegetable with high sugar content is added, even better.
What is wild mead?
Mead, though, requires yeast to ferment. The aforementioned ancient cultures didn’t head to the local homebrew or grocery store to acquire it, so how did they get it? For one thing, yeast was little understood, and the effervescent and very-much-living process that it initiated (fermentation) was looked at as being brought on by gods and other spirit beings. Nonetheless, a great deal of care went into the process, meaning that we can easily emulate it today with or without the help of the gods.
For ancient peoples, yeast strains were first acquired from wild yeasts that floated through the air and thrived in abundance on fruits, flowers, and vegetables used as ingredients. When a particularly powerful and flavorful yeast strain (or more likely, combination of several strains) was found, it was saved by either using a portion of an actively fermenting batch to start the next batch, or by re-using the unwashed fermentation vessel, the interior of which would be caked with yeast strains leftover from previous batches. Another technique was to take a fresh log, usually juniper or birch, set it out to dry and develop cracks, and then drop it into the bottom of a new batch of mead. From then on, it would collect yeast in its cracks or in runes carved into its surface. Upon dropping it into future batches, it would cause a much more rapid fermentation than the initial harvesting of wild yeast did. The fermentation process was considered to be magical, and would often be accompanied by sacred rituals. Similar to the yeast log, stir sticks were used that would also gather yeast with each new batch. These sticks were referred to as magic sticks or totem sticks. Vessels, sticks, logs, and even active ferments were passed down through generations as family heirlooms.
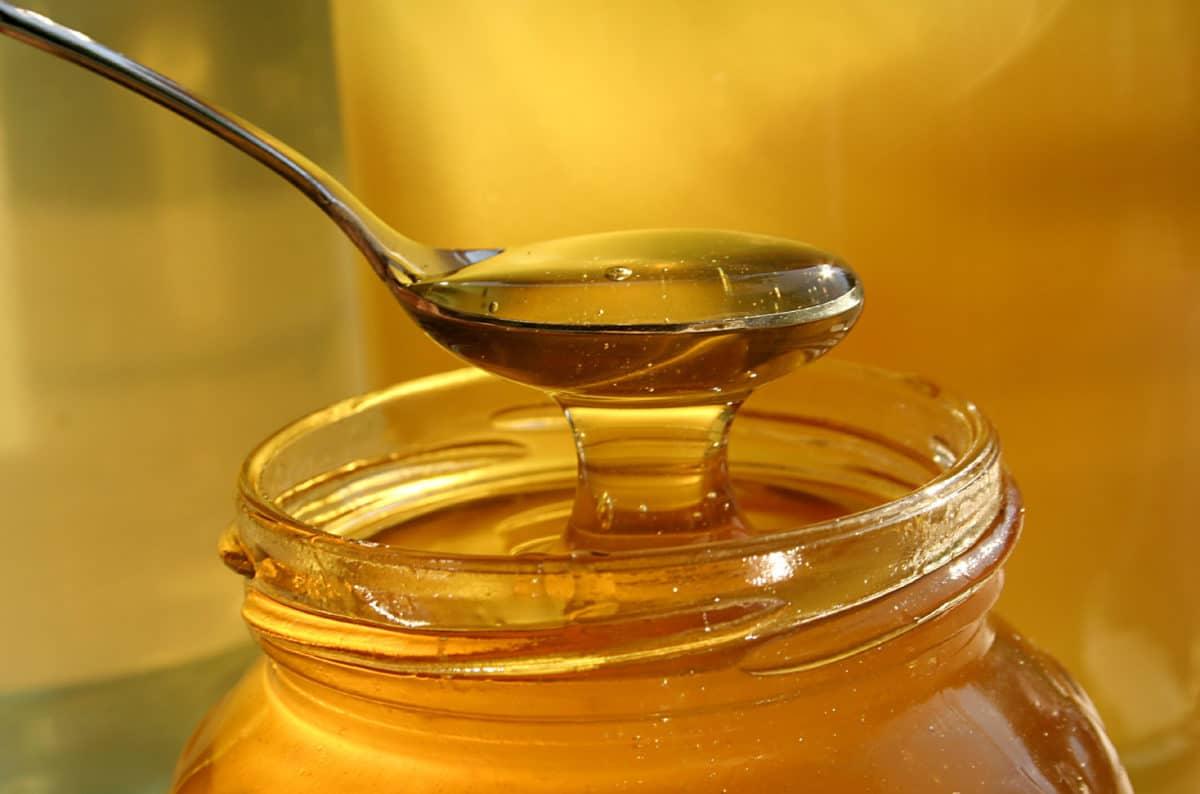
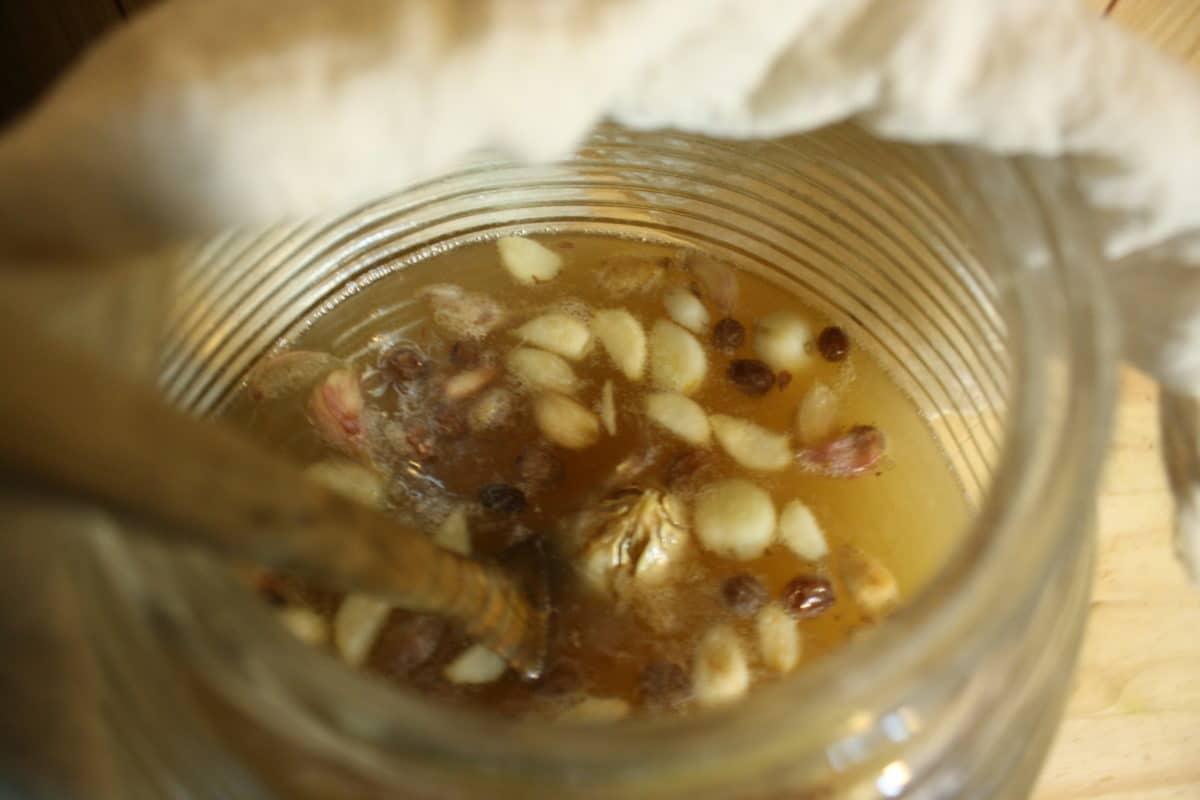
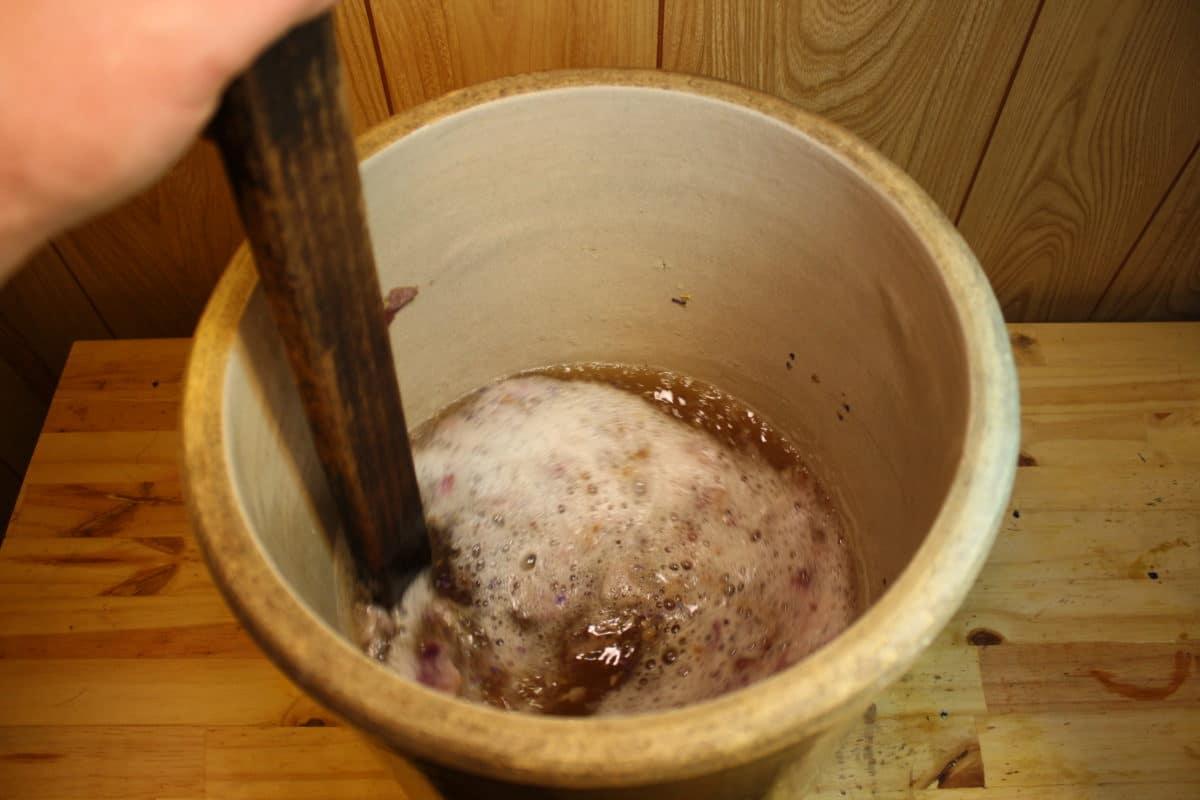
Provided you use botanicals that have been unsprayed by pesticides, and that you don’t sanitize your brewing equipment with chemicals or rinse thoroughly when you do, you can harvest wild yeasts for your mead as the ancients did. Wild fermentation is a simple, intuitive process once you’ve done it a time or two. I’ll provide you with the basics for making a 1-gallon batch of semi-sweet mead. This is an ideal starting point, as you can adjust the ratios of honey-to-water by taste for future batches. (Less honey makes for a drier mead and more honey makes for a sweet or dessert mead).
First published December 2015
Basic Semi-Sweet Mead

Ingredients
Ingredients
- •.9 to 1.3 kg or about 946 ml (2 to 3 pounds or about 1 quart) raw, unfiltered local honey
- •3.8 liters (1 gallon) of good clean, non-chlorinated water
- •8-10 organic raisins (for wild yeast, tannins and nutrients)
- •A couple squeezes of a lemon or orange
Equipment
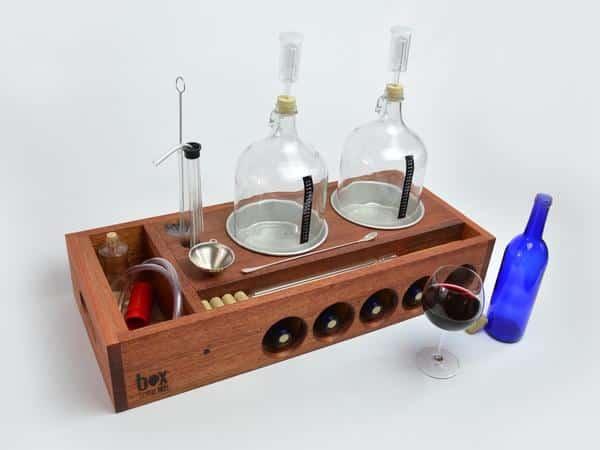
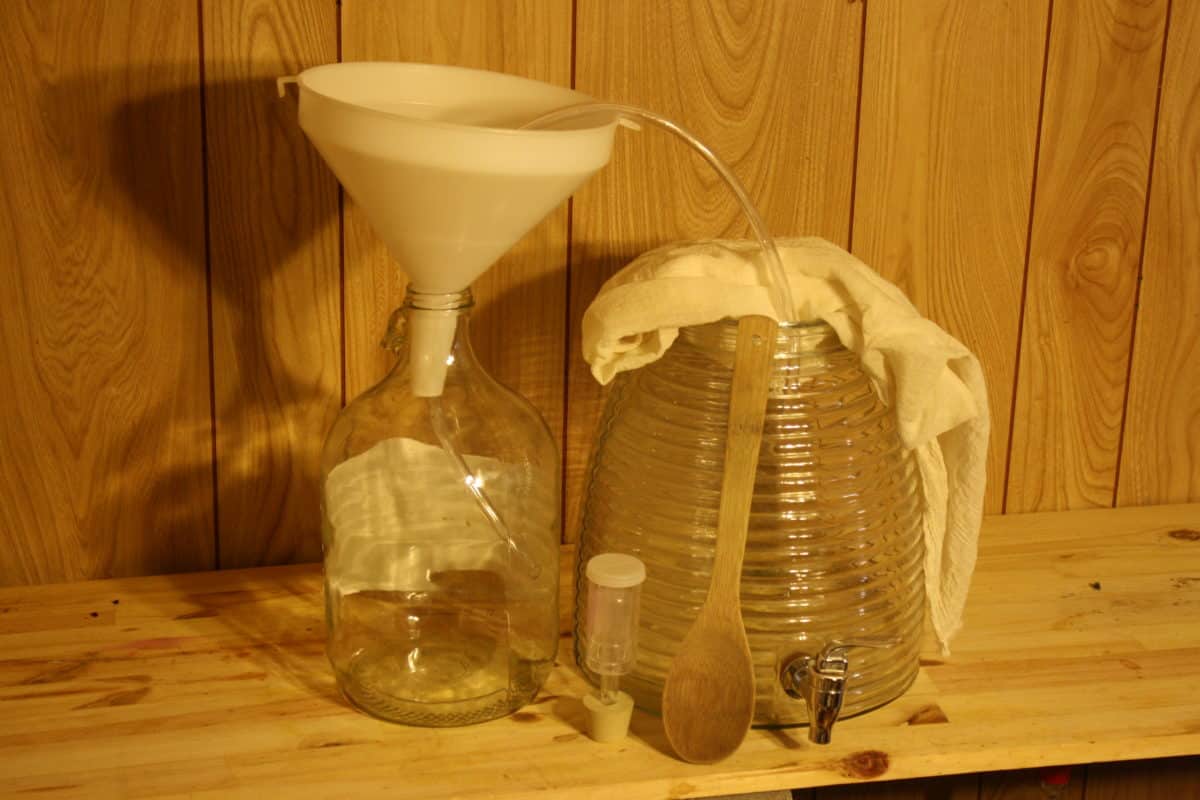
- •A wide-mouthed ceramic, glass or food-grade plastic fermentation vessel (3-5 gallons); do not use metal
- •A stir stick; I recommend a wooden spoon
- •Cheesecloth or another porous cloth large enough to cover the mouth of your fermentation vessel


Preparation
Clean all equipment thoroughly. Sanitizing with a sanitizer like Star-San or Iodophor will minimize the chances for bacterial infection but I practice natural fermentation so I tend to avoid them. An environmentally safe no-rinse cleaner like One Step is enough for me. One Step cleans by oxidation and is non-toxic. Use common sense and cleanliness as you would with any food preparation.
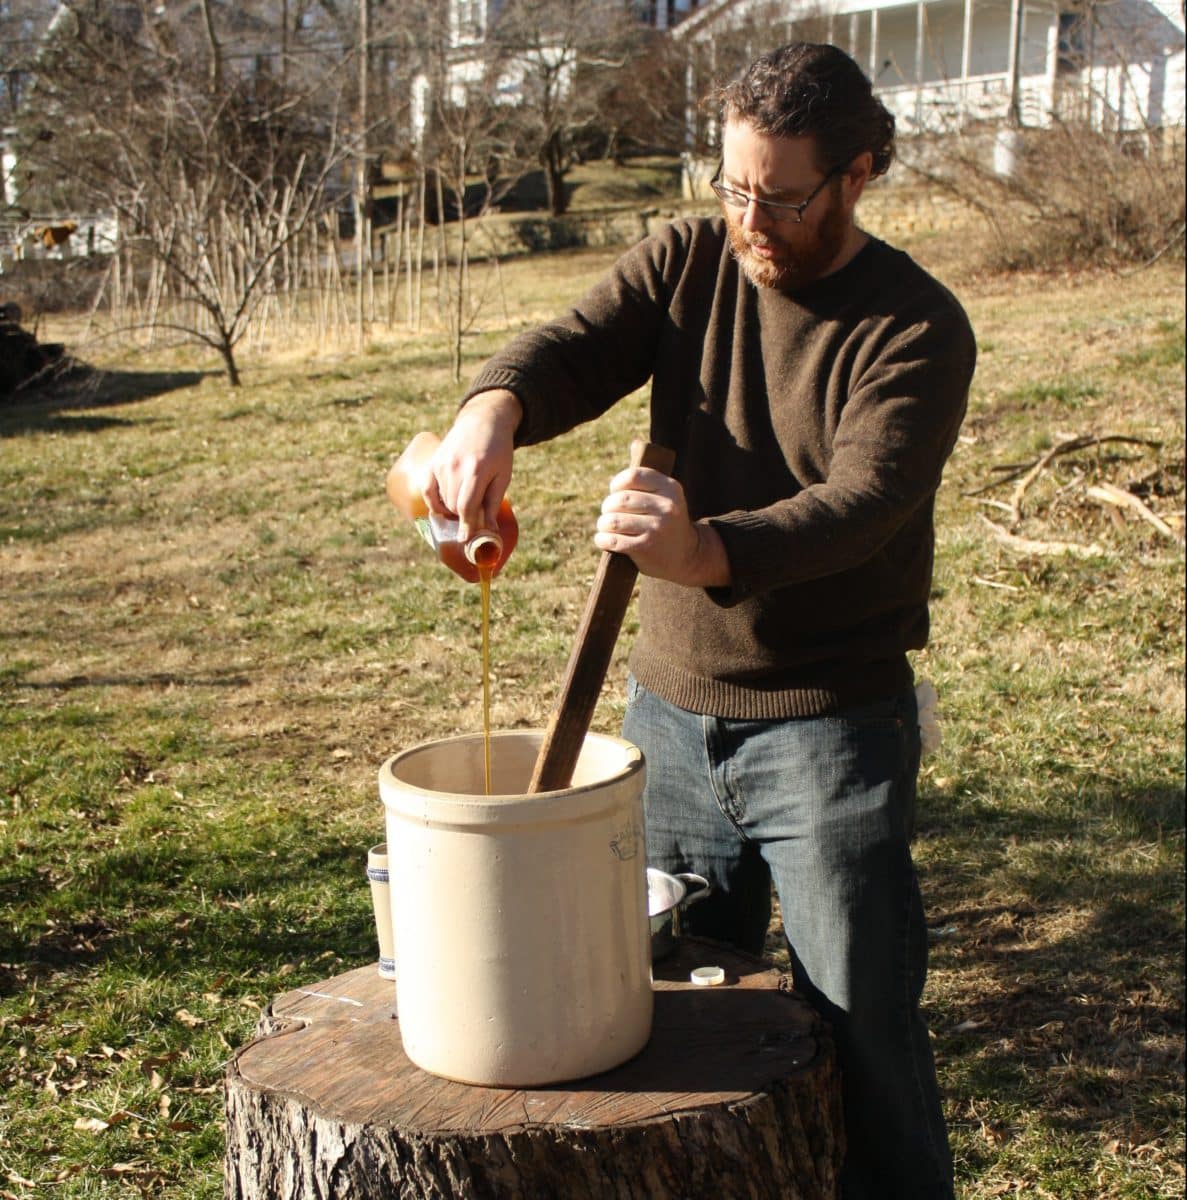
Mix water and honey in a wide-mouthed vessel. Room-temperature water and honey are already at the ideal temperature for fermentation, so there is no need to heat the must (unfermented mead). You can warm the water to help dissolve the honey, but don’t boil or pasteurize, as this kills off wild yeast and nutrients.
Add flavoring and fermentation-enhancing ingredients. Mead requires nutrients, tannin, and acid to give it body. Use these sparingly unless you want to add extra for flavor. All of these occur naturally in wild botanicals. Organic fruit, vegetables, edible flowers and more can be used. Small amounts of any citrus fruit (a couple squeezes per 3.8 liters/gallon) will provide acid. For tannin, an oak or grape leaf can be used. Around 5-6 organic raisins per gallon, as well as wild or domestic grapes, will provide nutrients, a bit of tannin, and wild yeast. Nearly anything edible, including fruit, vegetables, herbs, and flowers, can be used for flavoring. Make sure you are 100% positive an ingredient is safe when wild foraging, and add a bit at a time throughout the process until you like the flavor. Herbs and spices should be added with care as they can easily become overpowering.
Once you’ve mixed in your initial ingredients, set the vessel in a warm (15–27° C or 60–80° F) dark room, and stir the must vigorously for a couple of minutes several times a day. This aerates the mead, helping to incorporate wild yeast and ensuring a strong fermentation. Cover the vessel with a clean cloth when not in use. Tie the cloth tightly around the opening to keep out fruit flies and ants. Setting some traps nearby doesn’t hurt. Within anywhere from three to five days, you should see signs of fermentation. Most fruits will cause a vigorous, foamy fermentation, while other ingredients will be more akin to opening a carbonated beverage; i.e., the mead will be bubbly and will continue to fizz after stirring.
At this point, you can rack (fancy homebrew talk for “transfer”) into a narrow-necked jug, but a couple of more days will help to provide additional aeration.
To rack, use a siphoning tube or pour carefully through a funnel and strainer. Insert an airlock (purchased from a homebrew store) half-filled with clean water into the opening, or use a balloon. The goal is to allow the CO2 produced by fermentation to escape and to keep outside air from entering and turning the mead to vinegar.
Traditionally, meads were often drunk young, meaning you can drink the mead at any point now if you like the flavor. It will be sweet and bubbly and at around 5-6% alcohol. To age into a drier, higher alcohol (10-12%) mead, rack it off of the lees (sediment on the bottom) after about a month and then one or two more times. In six months to a year, all of the sugars in the mead should have been converted to alcohol. Add half teaspoon of sugar or a bit of honey and swirl the jug. If it causes a strong reaction, the mead is not ready to bottle. Meads bottled a bit young in a thick bottle will be carbonated, but if not done with care, you risk popped corks or bottle bombs.
Bottle carbonated mead in champagne or swing-top bottles, or use wine bottles with a wine corker, non-screw-top beer bottles with a bottle capper, or screw-top wine or beer bottles. Corked and swing-top bottles are ideal if you plan on aging the mead for more than a year. Place the bottles on their sides in a cool place such as a cellar.
Drink! Most meads need at least six months to mellow. Some need more. Feel free to sample at any time. It’s your mead after all. When drinking with friends, be sure to say skål! You can use other traditional toasts, but I prefer to toast as the Vikings did, from a drinking horn of course.

Garlic Mushroom Cooking Mead
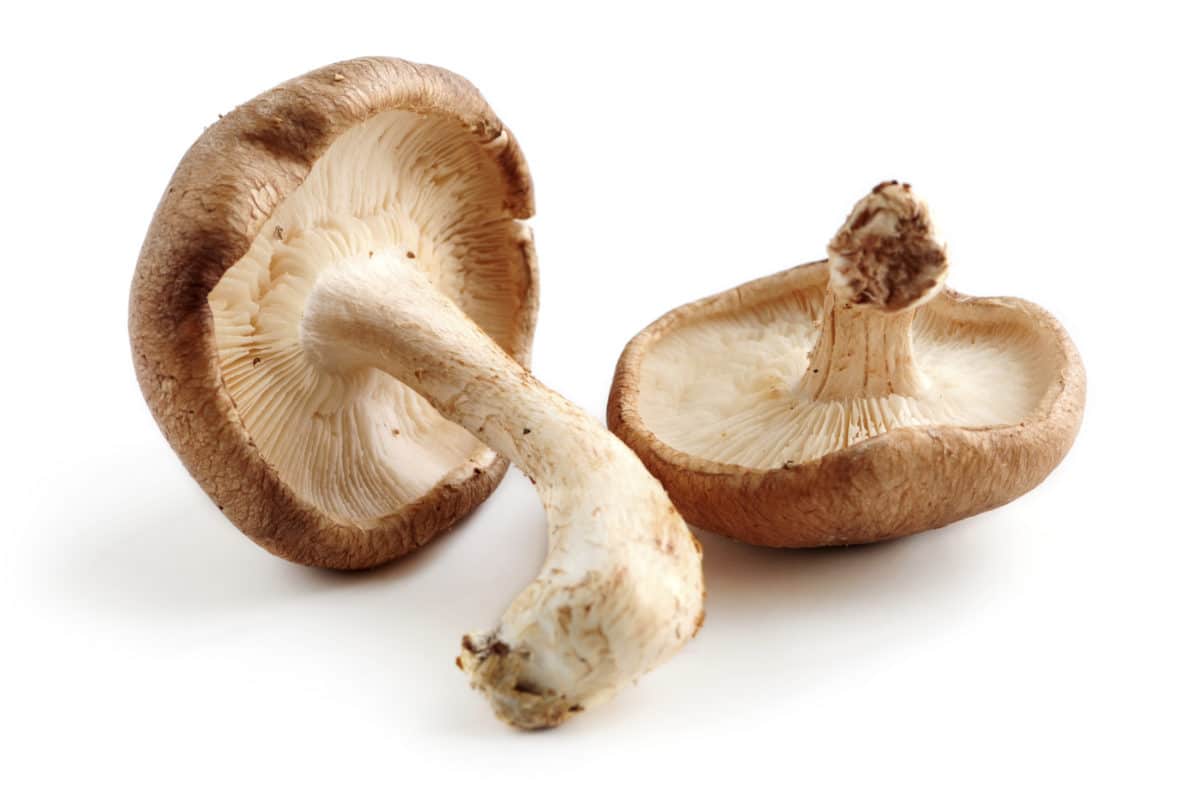
Mead can be made from practically anything edible and is excellent to use in place of wine for cooking. I often make mead from ingredients that may not make for the most flavorful drinking mead but are ideal for cooking. Used sparingly and with varying amounts of honey, these ingredients can also produce an excellent dessert mead or digestif. Tomatoes, onions, peppers, and most other garden produce can be used to make both cooking and drinking mead. My favorite cooking mead (which I also enjoy sipping a bit) is a dry garlic-mushroom mead. I grow my own garlic and mushrooms, so I don’t generally have to go far to forage for ingredients. Any edible mushroom will work, and if you’re adventurous, so will wild garlic (ramson), wild onions, or ramps (wild leeks). For my mead, I generally go with shiitake mushrooms and the large cloves of Music garlic, primarily because those are my favorites to grow. Also, many edible mushrooms possess strong medicinal qualities, and garlic has powerful health benefits as well. Even if the flavor is a bit strong for drinking, a glass here or there will do wonders for your immune system.
Ingredients
- •1.1 kg (2½ pounds) honey (up to 1.8 kg or 4 pounds for a sweet or dessert mead)
- •11 liters (3 gallons) water
- •4-12 heads garlic (really, it’s up to you)
- •2 cups chopped fresh shiitake mushrooms or 1 cup mushroom tea
- •8-10 raisins
- •Wild yeast
Preparation
Prepare mead must with preferred ratio of honey-to-water.
Prepare garlic by peeling each clove and roughly chopping or smashing it. Add it all to the must raw. If you add it now, the garlic aroma won’t be as strong. If you save some for later, or even place a clove in each bottle, you’ll have a much stronger garlic flavor.
Add mushrooms directly to must or prepare in a mushroom tea and add the tea (this will make racking less messy).
Wild ferment, age, and bottle. When open fermenting, if you keep the mead in its cloth-covered vessel for several weeks to a month or more, you’ll create vinegar, which you can also use for cooking.
My absolute favorite dish to use this with is roast goat or lamb loin. I simply sprinkle the meat with salt and savory herbs, drizzle on some olive oil, pour mead over it, and place it in a roasting pan in the oven set to 121° C (250° F) or in a crock pot set to 6-8 hours. You can add potatoes and onions an hour or so before the dish is finished cooking. I also like to make mashed potatoes and use some of the broth to prepare gravy, or use it instead of water to prepare some brown rice. (I’ll admit that after tasting the broth, it’s very tempting to ladle some into a bowl and sip it with a spoon.)
Spring Wildflower Mead
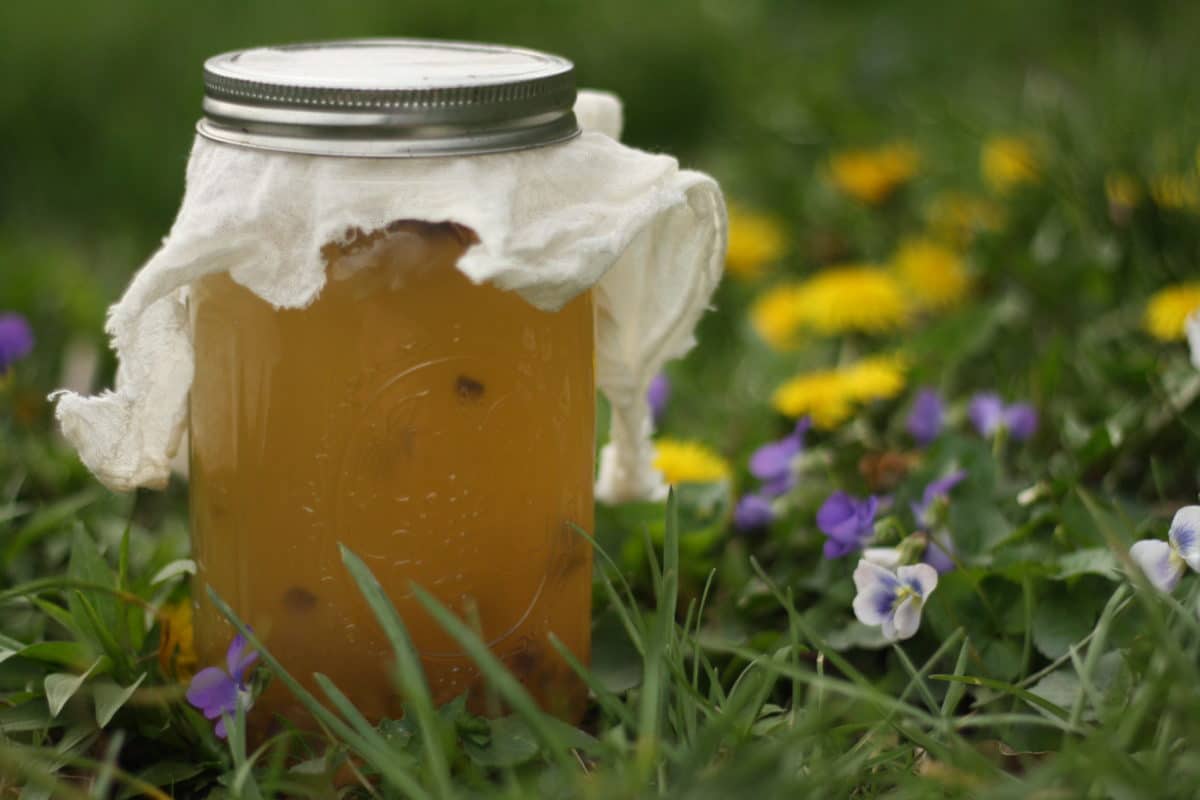
Spring is one of my favorite times to make mead. Since I use all-natural, mostly local ingredients that I have grown or wild-foraged myself, the myriad edibles that pop up in my yard and wildlands are just begging to be made into mead. On top of that, I can usually find light, floral honeys from local beekeepers. Honey made from wildflowers, clover, or trees such as basswood or sourwood are ideal for a light flower mead.
You will need about .47-1.4 liters (1-3 pints) of tightly packed flowers for a 3.8 liter (1-gallon) batch. The more flowers, the better. Pick on a dry, sunny day when you have plenty of time. I generally pick wild violets, dandelions, honeysuckle and clover for a spring mead. I add Rose of Sharon as well when picking later in the spring and summer. Take care to use only the petals. Any greens will cause bitterness. If taking a couple of days to pick, keep the petals in a brown paper bag until you have enough. You can also freeze them until you’re ready. For a mead made with fully dried flowers, use about 14 grams (1/2 ounce) of dried petals per 475 ml (pint) of fresh. Wash freshly picked flowers gently in a colander and allow to dry. (You can steep the flowers in hot [not boiling] water beforehand and allow to cool, to draw out more flavor by using flower tea in place of fresh water, but this isn’t absolutely necessary.)
When you have enough, follow the technique I’ve outlined in the accompanying article for making wild-fermented mead, adding some flowers at the outset and a few more after a month in the jug for a stronger floral aroma. Flowers tend to produce quick, strong wild ferments. Be sure to squeeze in some lemon or orange juice for acid, and to add 8-10 organic raisins and a small oak leaf for nutrients and tannin.
Never forage from roadsides or areas where pesticides may have been sprayed and take note that not all flowers are edible. Other flowers that are excellent for mead include elderflowers, marigold, roses, hawthorn (mayflower), and lavender. Having a glass of flower mead made with spring wildflower honey in the depth of winter is a great way to remind yourself that spring is just around the corner.